


How to set up a home studio for your social media videos – without breaking the bank


We can’t all be video content whizzes – in fact, most business owners are definitely not – but there are some handy things to know if you’re keen to venture into the world of social media videos, and it starts with creating the right environment. Social media strategist and coach, Emily-Rose Hills shares a few hot tips for setting up a home studio that won’t send you broke.
Lights! Camera! Action! You’ve spent a good hour dancing up a storm for a TikTok video or Instagram Reel and go to play it back, and it’s:
If you’re regularly creating social media content from your home office and are by no means an expert, there are a few handy hacks I’ve discovered guaranteed to make video creation easier.
So whether you’re a mega-influencer, nano influencer or simply a small business trying to embrace video content, keep reading because you’ll find a lot of valuable information on setting up a home studio without having to rob a bank.
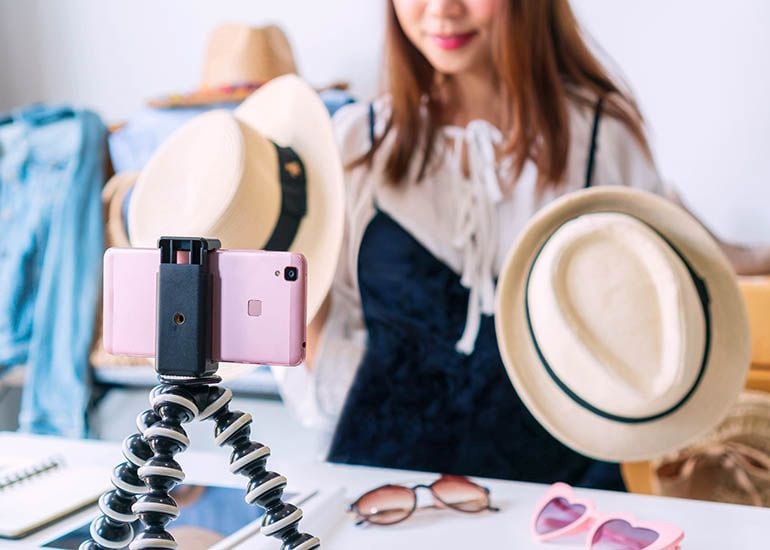
The first thing you need for setting up a professional home video is a checklist of equipment. I’ve made this budget-friendly because I understand the costs of setting up your own business, let alone a home studio.
As a social media coach, creating regular video content is essential for my business. I didn’t have a lot of money to begin with, as I funded all the home studio equipment from my personal savings.
Here is what I invested in:
Additional items you can benefit from but don’t really need to use:
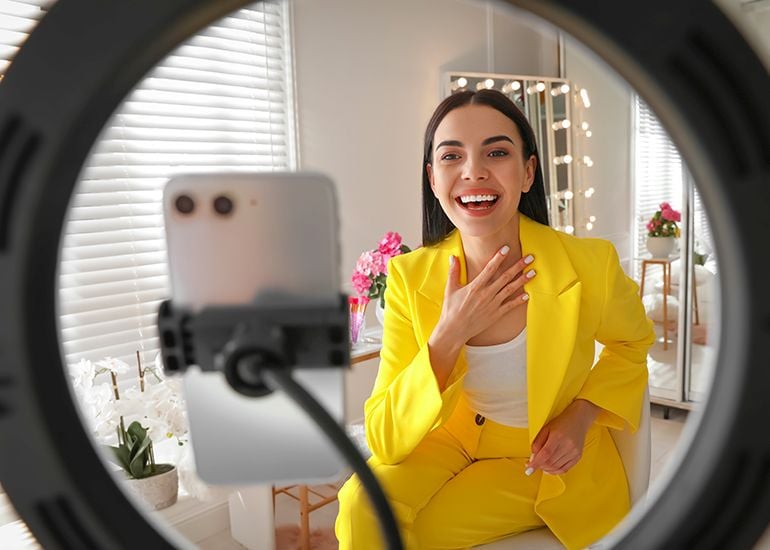
Once you have all your home studio equipment and a strategy, you’re ready to make professional-quality videos. Here are my top three tips before you jump in:
Choose an area where you’re not likely to be disturbed by dogs, cats, kids or neighbours who suddenly decide to mow their lawns.
Set the camera up on a tripod to keep it steady and position the camera at eye-level. Eye-level is how you would view things in real life and is often the way filmmakers facilitate an intimate connection between their fictional characters and the audience.
Be sure to check your camera settings to ensure you’re filming in high res. If you have a dedicated room for filming, editing and working, that’s the ideal situation. If you want videos where you’re walking and talking, try using a stabilising arm to hold your mobile.
Where possible, use natural light and turn on any artificial light sources such as the house lights and your LED ring (note: be wary of shadows and reflections in glasses as they can give you an effect that makes you look almost alien-like).
Make sure you don’t have bright light sources directly behind you, as this will cause the video to be overexposed.
Getting the audio right is essential. If you record in a room without carpet or furnishings, your audio may have metallic, high-pitched sound instead of being rich and full. It’s always good to surround yourself with soft furnishings where possible. (I’ve just had a flash back to recording a podcast episode in a cupboard surrounded by pillows! )
Having the microphone too close to your mouth can result in ‘P’s that pop and sibilance (the sound of hissing every time a word with the letter S is pronounced) so if you are using a microphone, make sure it’s attached to your collar so the audio quality is as good as it can be.
Now go free and start hunting and gathering your equipment and if you have any questions, feel free to book an Ask Me Anything session. This session gives you 20 minutes to ask me anything about setting up a home studio, I think the best results come from candid conversations.
I can’t wait to see what you create. Don’t forget to tag me on your Reels and videos. Happy filming!
Want more? Get our newsletter delivered straight to your inbox! Follow Kochie’s Business Builders on Facebook, Twitter, Instagram, and LinkedIn.


Comments